Before you can install solar panels, you must have a plan. The plan should provide you with measurements for the roof line, the vent pipes, and other factors. You can use these measurements to mark out your solar panel array. Next, you must connect the solar panels to your house or battery bank. This step will save you a lot of time later.
Installation of solar panels
Solar panels are a great way to generate free electricity, but they can also be dangerous. In order to avoid injuries, you should use personal protective equipment such as a helmet and earplugs. Also, make sure to work only in dry conditions and use the proper tools. Finally, be sure to look both ways when you are on the roof and cover skylights and other roof openings.
Before you decide on the size of the system you will need, you must consider how much energy you currently use. For example, if you own a home with several electrical appliances, you should estimate the total monthly energy usage of each appliance. Multiply the energy consumption of these appliances by 30 to get a good idea of the size of the solar energy system you will need.
You must carefully plan the location of your solar panels. Make sure to plan out where you will place them and the wiring for the panels. You should also consider whether the panels will be shaded by buildings or trees nearby. You can also get professional assistance if you have any questions. Remember, there are different laws and regulations for solar installation, so be sure to check with local officials before installing solar panels in your home.
Installation of solar panels can add to the value of your home. In addition to generating free electricity, solar panels increase the value of a home by four percent. Moreover, installing solar panels in your home can help you take advantage of feed-in-tariff regimes to increase the value of your home.
Choosing a solar panel array
Choosing a solar panel array can be a challenging task. There are many different factors to consider, including price, efficiency, and aesthetics. A solar specialist can help you determine the best option for your home. With a little research, you can make a sound decision. The most important aspect of solar panel buying is to be realistic and understand the risks of faulty panels.
The first step in buying solar panels is to decide how much power you need. The more power the solar panels produce, the less you will have to pay. When choosing your panels, look for a high efficiency. A high efficiency solar panel will give you optimal power and efficiency under ideal conditions. A higher efficiency panel will also be smaller and take up less space. The highest efficiency solar panels will also offer higher output, a benefit for people with high electric bills. Also, look for a solid manufacturer warranty. The manufacturer should be willing to stand by their products, so look for a 25 or 30-year warranty.
Cost is an important factor in selecting solar panels. Although it’s tempting to choose the cheapest option, it’s not always the best option over the long run. Solar panels are designed to last for many years, so it’s better to invest in high quality solar panels than the cheapest.
Choosing the right solar panel array is a complex process. Many variables come into play. Your budget and space requirements need to be considered, as well as your aesthetic needs. Paradise Energy can help you choose a solar panel array that best meets your needs.
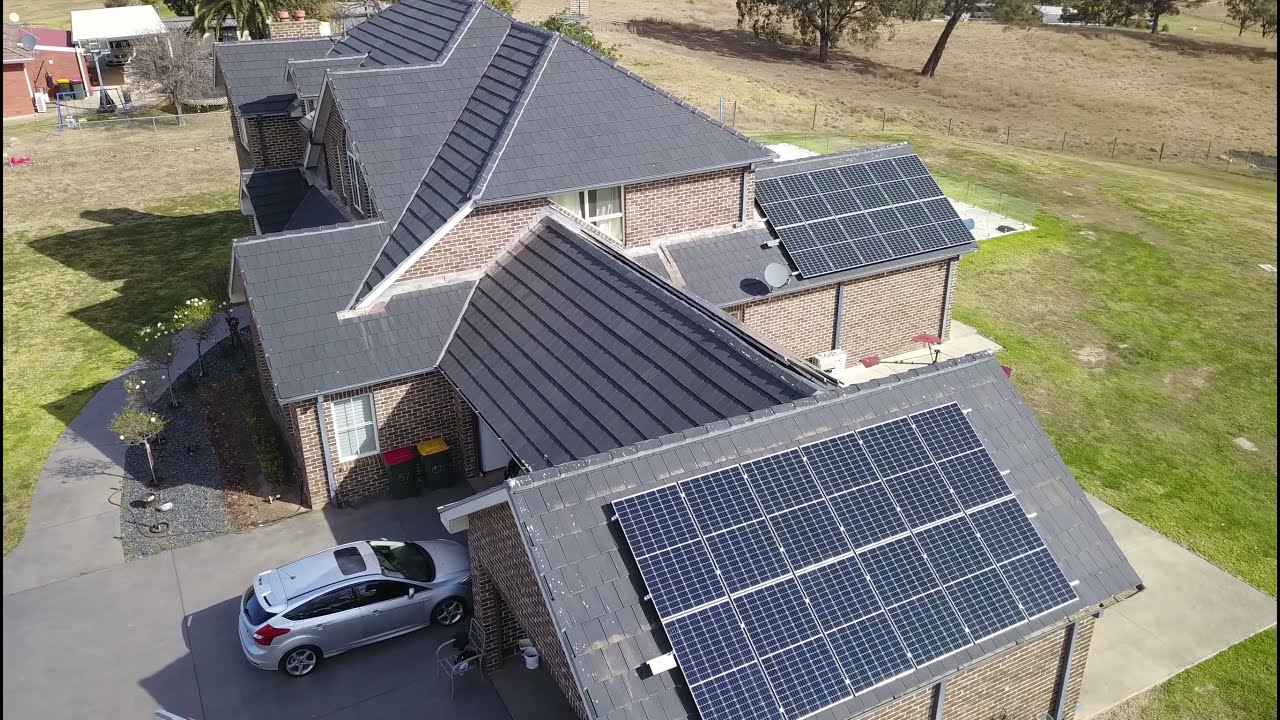
Mounting solar panels on a roof
Installing solar panels on a roof has many advantages over ground-mounted options. First of all, roof mounted solar systems can save you money. The cost of a ground-mounted solar array is usually much higher than a roof-mounted system, so you may want to consider other alternatives before installing your new system.
The ideal orientation for solar panels is facing south. It captures the most daylight. However, because most of the United States lies north of the equator, it is unlikely that the panels on your roof will be facing the sun naturally. A better orientation will increase the amount of light that your solar array can produce.
The downside of rooftop solar systems is that they can be hard to access and require more maintenance. You may want to consider installing a path around the solar panels so that firefighters can safely get to them in case of an emergency. You can make this path as wide or as small as you need, depending on the space available. You should also keep in mind that most jurisdictions require a permit before solar installations.
When mounting solar panels on a roof, you should choose a mount that is designed for the solar panels’ maximum power output. A roof mount uses the existing roof structure to provide a stable base, and will take up less space than a ground mount. This option can be easier to access and can give you more control over the orientation of the array.
There are many types of roof mounting systems for solar panels. You can find rail-less or rail-based systems. These systems use metal roof rails to secure your panels to the roof. Rail-less systems are lighter and reduce the overall material cost of the mounting system.
Connecting solar panels to a house or battery bank
When connecting solar panels to a house or battery bank, there are two basic types of wire that must be connected to the system. One type is called grid-tie, which is designed to convert DC directly from solar panels to AC. The other type is called non-grid-tie. Non-grid-tie wires can be shorter but thicker.
Before connecting solar panels to a house or battery bank, determine the size and type of solar wire. The wire size should be based on the amp rating of the solar system. For example, if the system needs to handle up to 2,000 watts, then it will require a four-inch-long wire with a two-inch diameter.
Choosing the right wire for your PV system is very important. If you choose the wrong wire, your system may not work correctly or the battery bank may not be able to charge fully. Electrical wire is classified by its conductor type. Single-stranded conductors have only one metal core, whereas multi-stranded wires have many different metal strands.
For larger houses, a battery bank can be added to the photovoltaic system. A temperature sensor can also be added to the battery bank. In either case, the negative wires of the controller must be connected to the shunt of the battery monitor. Otherwise, the battery monitor will not be able to recognize the power from the solar panel.
To ensure that your solar panels are working effectively, you must reduce your electricity usage. Several simple home improvements can make a big difference in your electricity bill. Investing in weather-stripping and insulation will help you save money, and installing a smart thermostat will help your home run more efficiently. Additionally, you should keep an energy monitor so you can see which appliances are the biggest consumers of electricity. Once you know how much electricity you consume in a given day, you will be able to determine the best size for your home solar panel battery bank.
Choosing a charge controller
Choosing a charge controller for your solar panel system is an important step for ensuring proper system performance. The right charge controller can prevent overcharging of your battery and improve the lifespan of your solar system. There are many factors to consider when choosing a charge controller. Some of these factors include the type of charge controller you’re installing, the amperage rating of the system, and the safety features available.
First, you need to determine how many watts you plan to produce. This will determine how large your solar charge controller needs to be. The size of your charge controller should be roughly 25 percent higher than the amps produced by your solar panels. Choosing a charge controller that’s too small for your needs could cause problems with your system.
Another important factor to consider is the size of your battery. You’ll need to choose a charge controller based on the battery size you plan to use and the amount of solar you plan to collect. An MPPT charge controller is recommended for large solar power systems, whereas a PWM controller is better suited for portable applications or immobile structures. The MPPT charge controller is usually more expensive than its PWM counterpart, but it offers greater savings in the long run.
The voltage input to the charge controller is critical for proper functioning, and any deviation from this voltage can permanently damage it. Most charge controllers have a voltage window of 18-150V, so if your array is below that range, your controller will not be able to charge the battery. And if the voltage is too high, the voltage will permanently damage the charge controller.